Propiedades
Introducción
Right click on the selected layer in the ToC to access the properties window.
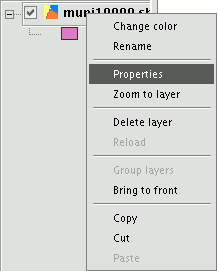
When you click on the “Properties” option, a new dialogue box opens. This can be used to edit some properties.
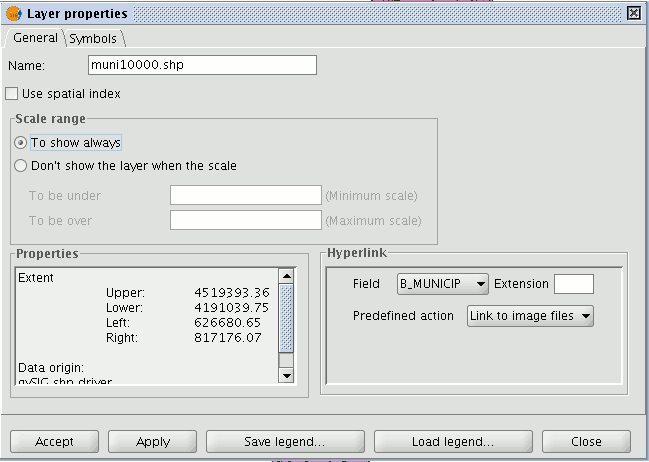
The layer name can be changed by writing the new name in the text field in the “General” tab.
Usar índice espacial
If you mark the “Use spatial index” check box, a spatial index will be created which makes the layer loaded in the view appear more quickly. This is because the view is loaded using this index.
If there are write permissions, a .qix file is created with the same name as the layer it is associated with in the layer’s original directory. If there are no write permissions, the file will be created in the user’s temporary file directory.
Rango de escalas
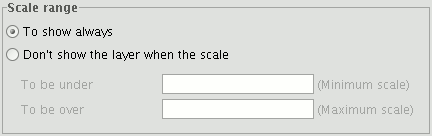
A viewing scale range (maximum and minimum) can be set in the properties window.
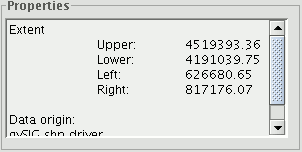
Resumen de las propiedades de las capa y su ruta de localización
The file extension and path are shown in the actual properties section.
Crear un hiperenlace en una capa
A link can be set up between a text, html or image file and a layer element in the properties window.
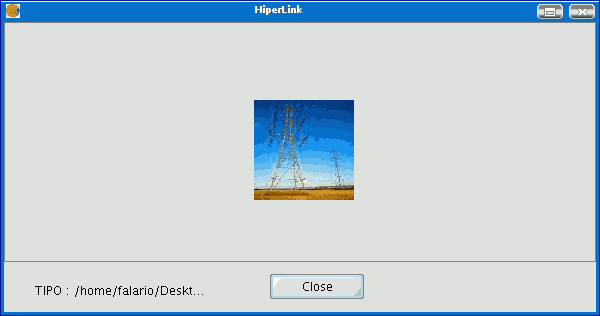
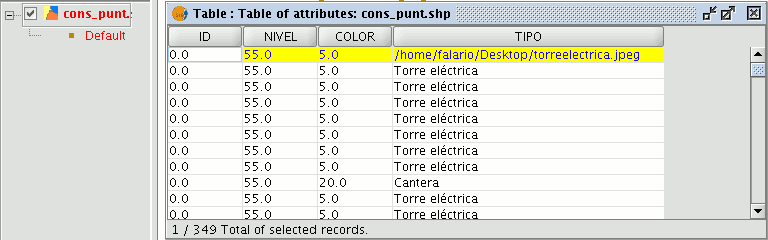
To provide a better idea of how the tool works, let us look at the following example. The aim is to link the image torreelectrica.jpg to a specific element:
Activate the view in the ToC.
Change the layer into editing mode (“Layer” menu then “Start edition”).
Open the table of attributes and edit the record you wish to create the link to. Write the path of the file you wish to link without its extension. Press “Enter” to save the modification made in the table.
Go to the “Hyperlink” table in the layer properties window and select the field the record is located in which will be used to create the hyperlink. Write the extension of the file you wish to link and whether it is an image file (gif, jpg, png) or a text file (at present gvSIG can only link plain text files (txt, rtf...). Html files can also be linked. In this case, write html in the “Extension” text box and select “Link to text files”.

When all the requirements have been selected, click on “Apply” and then on “Ok”.
Then go the view tool bar and click on the hyperlink button.

Select the view element that corresponds to the record which has the associated link and place the cursor over it. Click on the element. A window appears with the linked file.